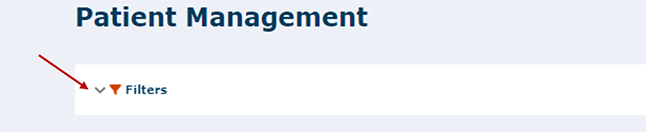
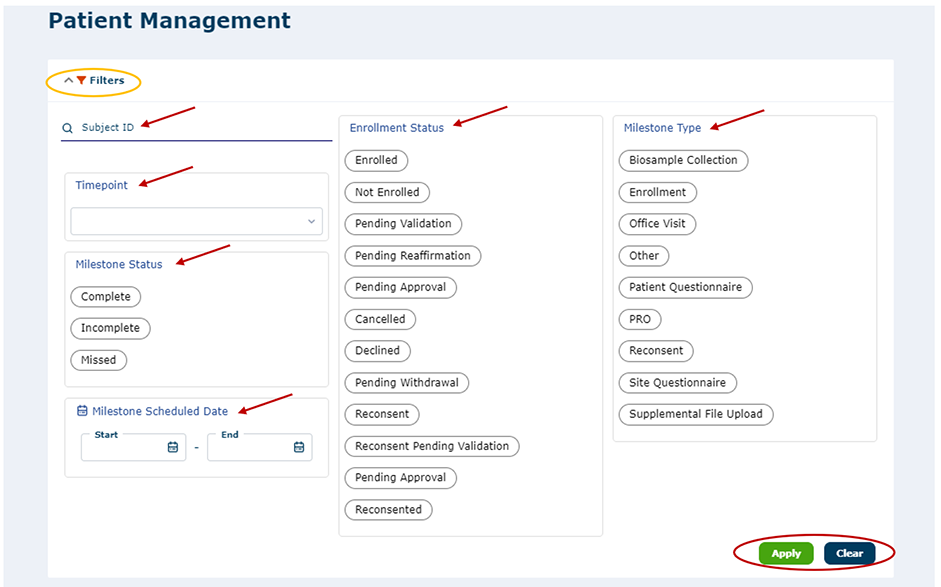
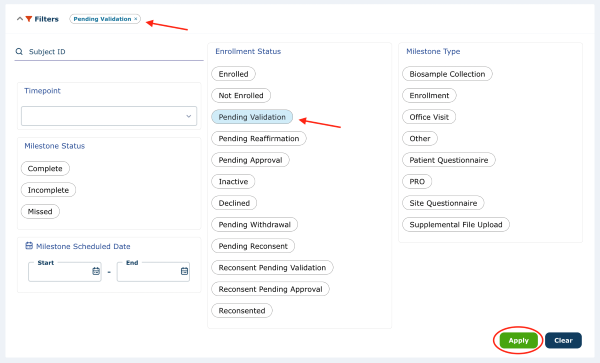
There is an option to filter the view on the Patient Management screen. Expand and collapse the ‘Filters’ by pressing the down arrow near the word ‘Filters'. Here, you can choose to Filter by Subject ID, Timepoint, Milestone Status, Milestone Scheduled Date, Enrollment Status and/or Milestone Type. Once you choose your filters, press the ‘Apply’ button at the bottom of the screen to Apply/View your results. You can click the 'x' on individual filters here to clear one or you can also choose to ‘Clear’ all of your Filters by pressing the ‘Clear’ button. When you click on ‘Start' or ‘End' of the ‘Milestone Scheduled Date’, a calendar will pop up where you can choose the Dates you want to Filter on.
Note: Because of how the filters are configured, please be aware that you can not filter an enrollment status filter at the same time as a milestone status filter.
The example below shows the result of choosing the Enrollment Status of ‘Enrolled’ and pressing ‘Apply’.
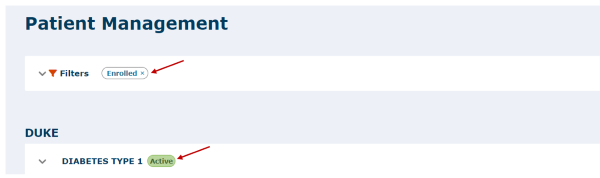
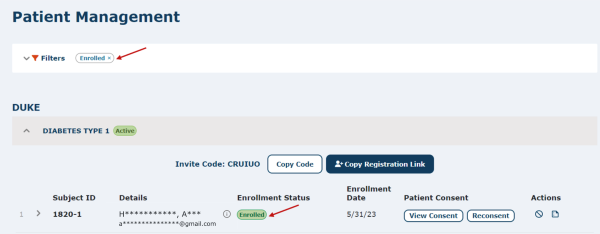
If you expand the above study by pressing the ‘down’ arrow, you will see that only patients with an ‘Enrolled’ status are displayed.
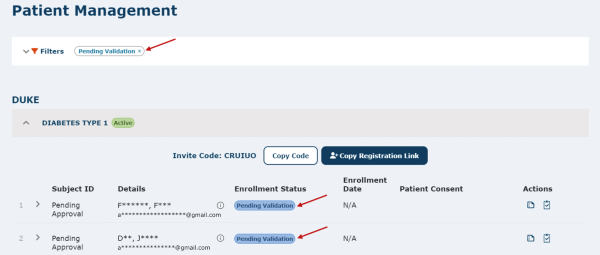
The example below shows the result of choosing the Enrollment Status of ‘Pending Validation' and pressing ‘Apply’.
Note: Pending validation will show all patients who have completed their Informed Consent Document, but have yet to validate their consent by adding in the code sent to their email address to complete the enrollment process. Once patients validate their enrollment, they will get a pending approval status.
If you expand the study by pressing the ‘down’ arrow, you will see that only patients with a ‘Pending Validation' status are displayed.
Watch a tutorial video on how to filter the patient management overview page: